Install Jekyll on Windows
Introduction
There are multiple ways to setup your environment to build Jekyll sites on Windows…
Terminals
Notes to come on PowerShell vs Command Prompt vs Hyper, etc.
Node
- Downloaded the current LTS from nodejs.org.
- Choose the 32-bit or 64-bit .msi installer depending on your computer arcitecture.
- Choose all default options (make sure it installs all the things locally).
- Make sure everything installed correctly by typing
node -vandnpm -vin your terminal.
If the above terminal commands did not return version numbers, something did not install correctly. See your tech lead for troubleshooting.
Git
-
Go to gitforwindows.org and click the download button to get the latest version.
-
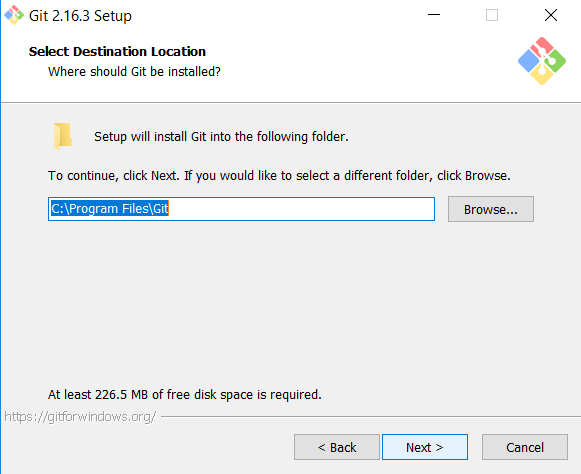
Select the install location:
-
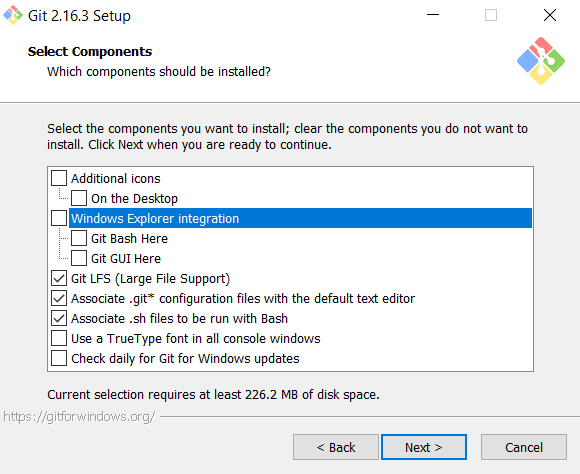
At a minimum you should select Git LFS and associate .git* and .sh files. The other options are up to you and where/how you intend to use git.
-
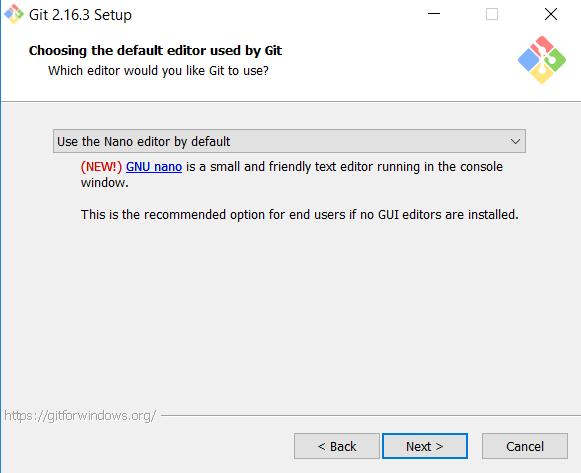
Change your default editor to Nano. If you choose any of the others, you are on your own for support.
-
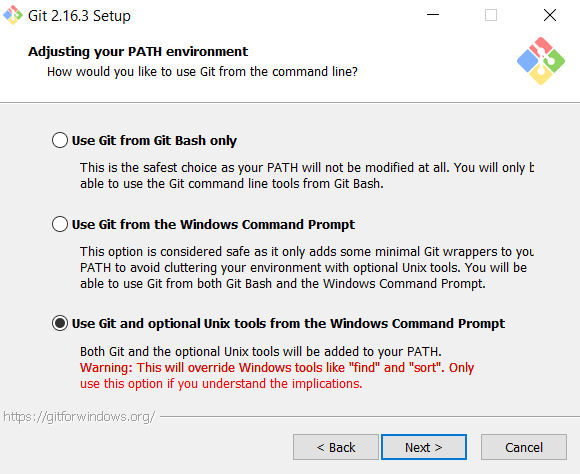
Change your path environment to “Use Git and optional UNIX tools from the Windows Command Prompt”. This will update your local path variables.
-
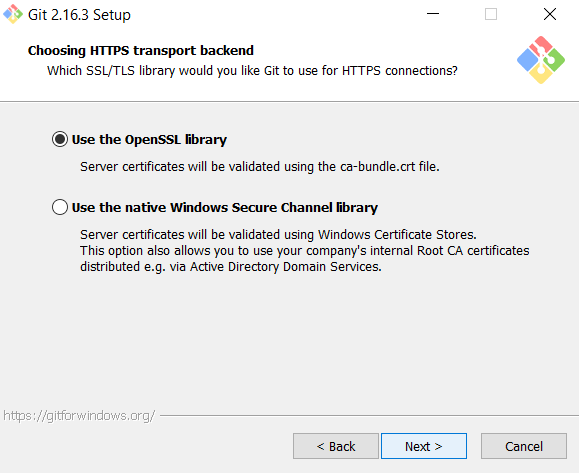
Leave HTTPS transport backend set to “Use the OpenSSL library.”
-
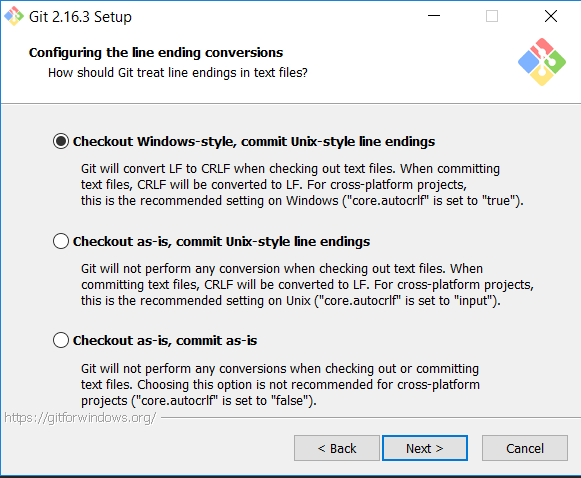
Leave the line endings to “Checkout Windows-style, commit Unix-style.”
-
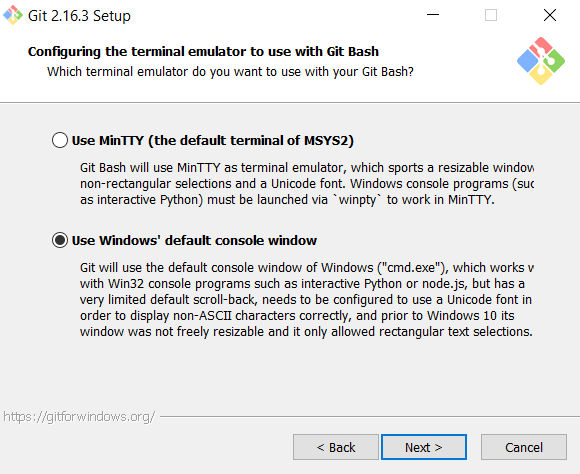
Change the terminal emulator to “Use Windows’ default console window.”
-
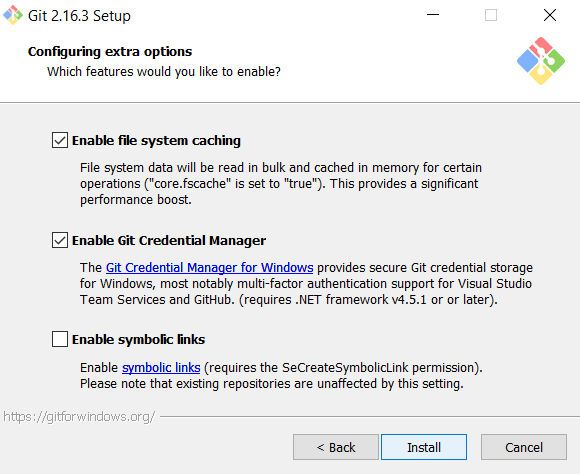
Extra options are up to you, but you probably want to set them like this:
Check that everything installed by typing git --version in your terminal. If the terminal command did not return a version number, something did not install correctly. See your tech lead for troubleshooting.
A note on GitHub Desktop: Github decided to stop installing git outside of its app. It’s siloed in a way that makes it unavalible in the terminal. If you want to use their desktop client, you can, but if you want to use git anywhere outside their client, you’ll need to follow the directions above.
Ruby
-
Download the installer for the latest 2.5.x Ruby+Devkit from rubyinstaller.org.
-
Run the installer and accept the license agreement.
-
Make sure to install Ruby in a root of
C:\(If you install it inC:\Program Files\it will error—Ruby does not like the space in the directory name.) and select all the options as shown below: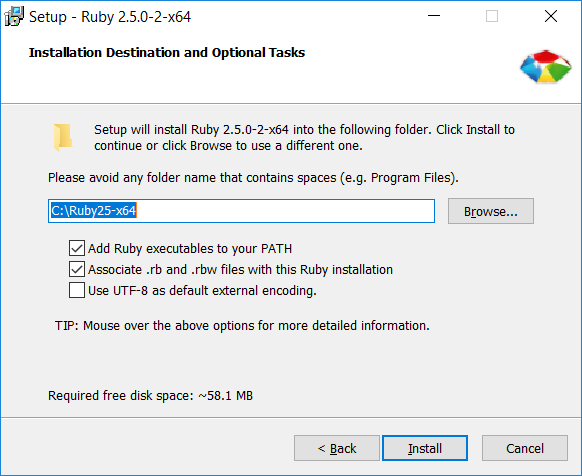
-
Check the box to install Msys2.
-
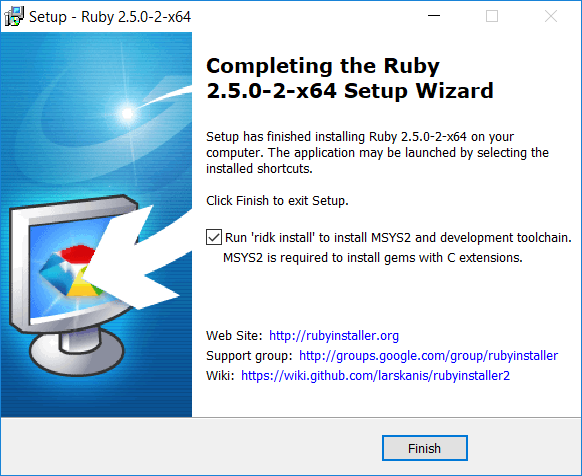
Press enter on your keyboard to start the install:
-
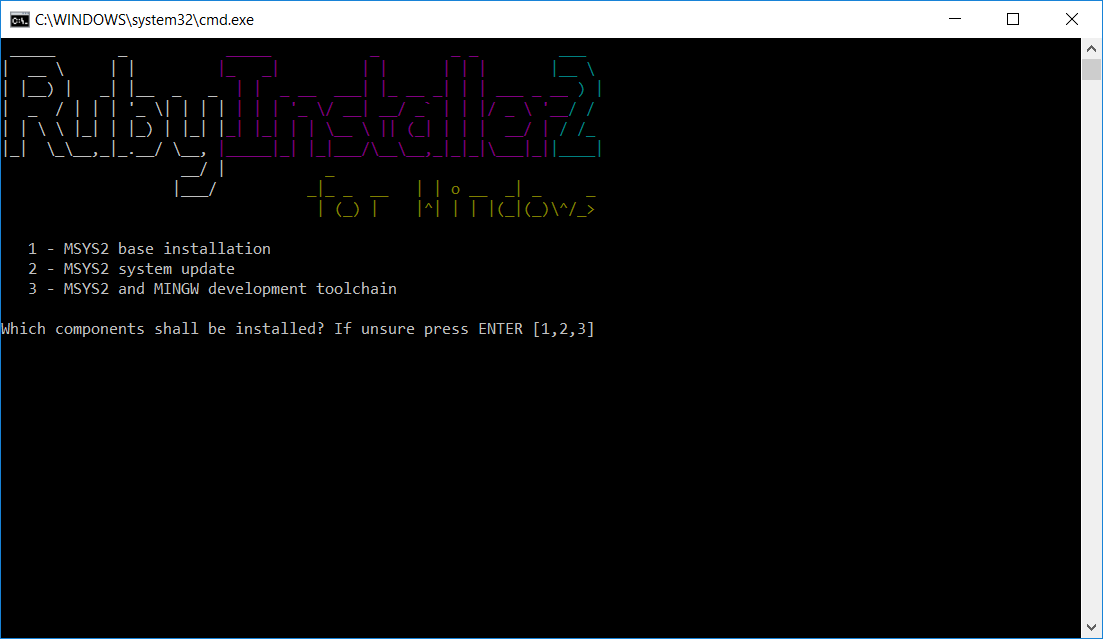
Choose all defaults through the install wizard.
-
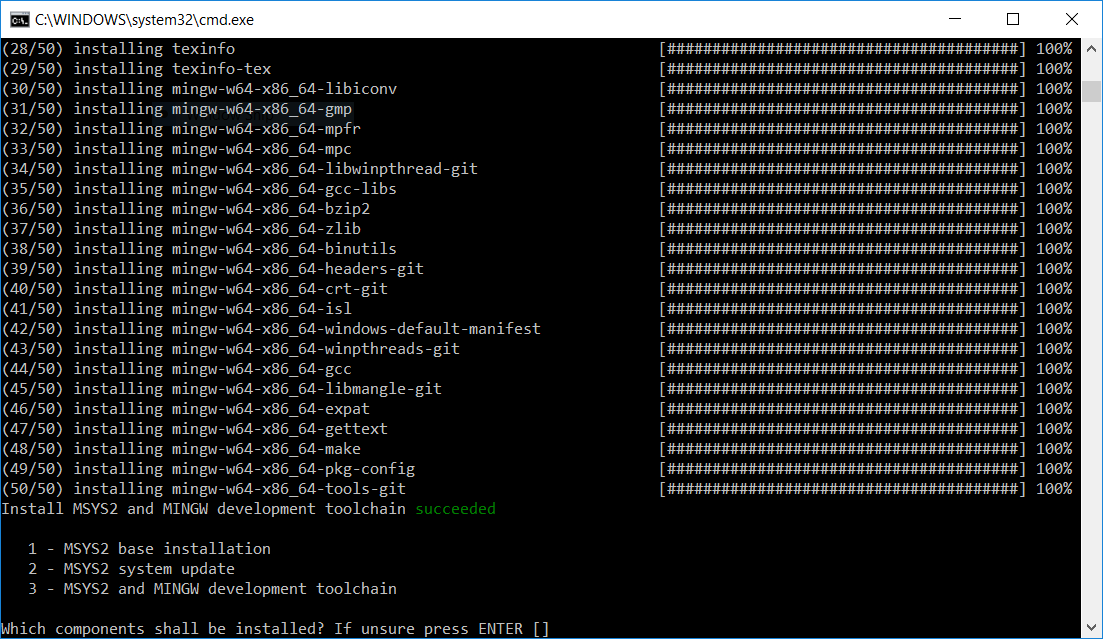
Your terminal will take a few minutes to install some utilities. Wait for it to finish.
-
Once you see something similar to the above, press ENTER to exit the terminal.
Check that everything installed by typing ruby -v in your terminal. If the terminal command did not return a version number, something did not install correctly. See your tech lead for troubleshooting.
Bundler
Install bundler for gem management.
gem install bundler